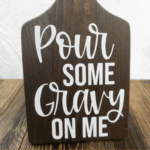
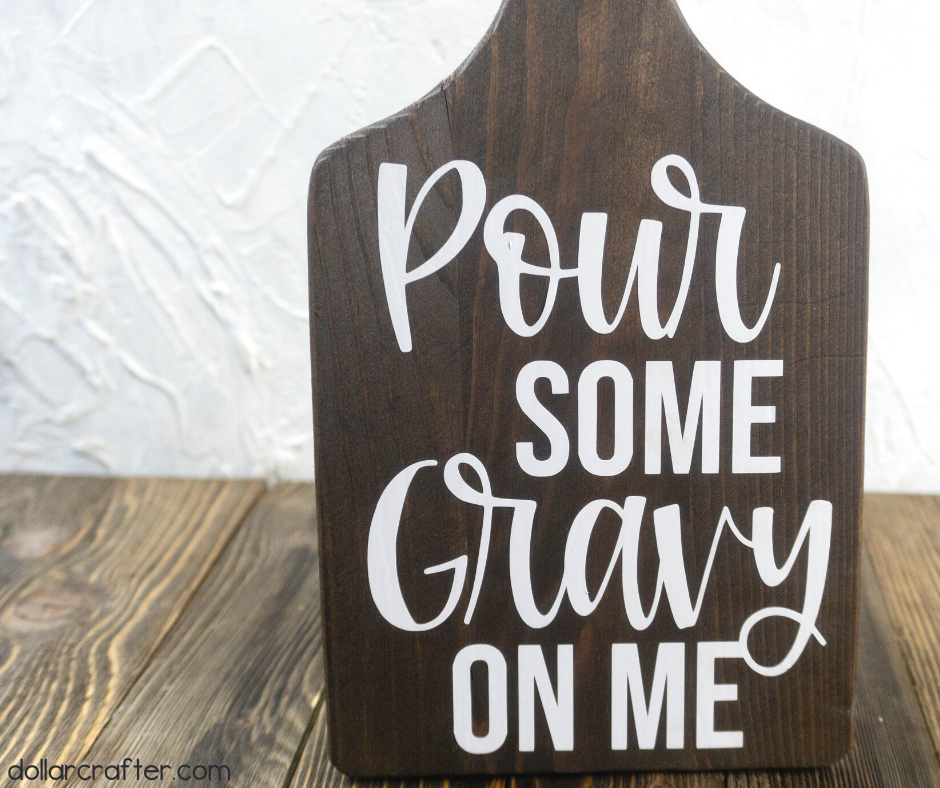
This Thanksgiving, make your kitchen countertop complete with this funny DIY “Pour Some Gravy on Me” cutting board sign. This project is easy, inexpensive, and will definitely get a few laughs from your dinner guests. So grab some supplies and let’s get started!
Thanksgiving Cutting Board Sign
Supplies:
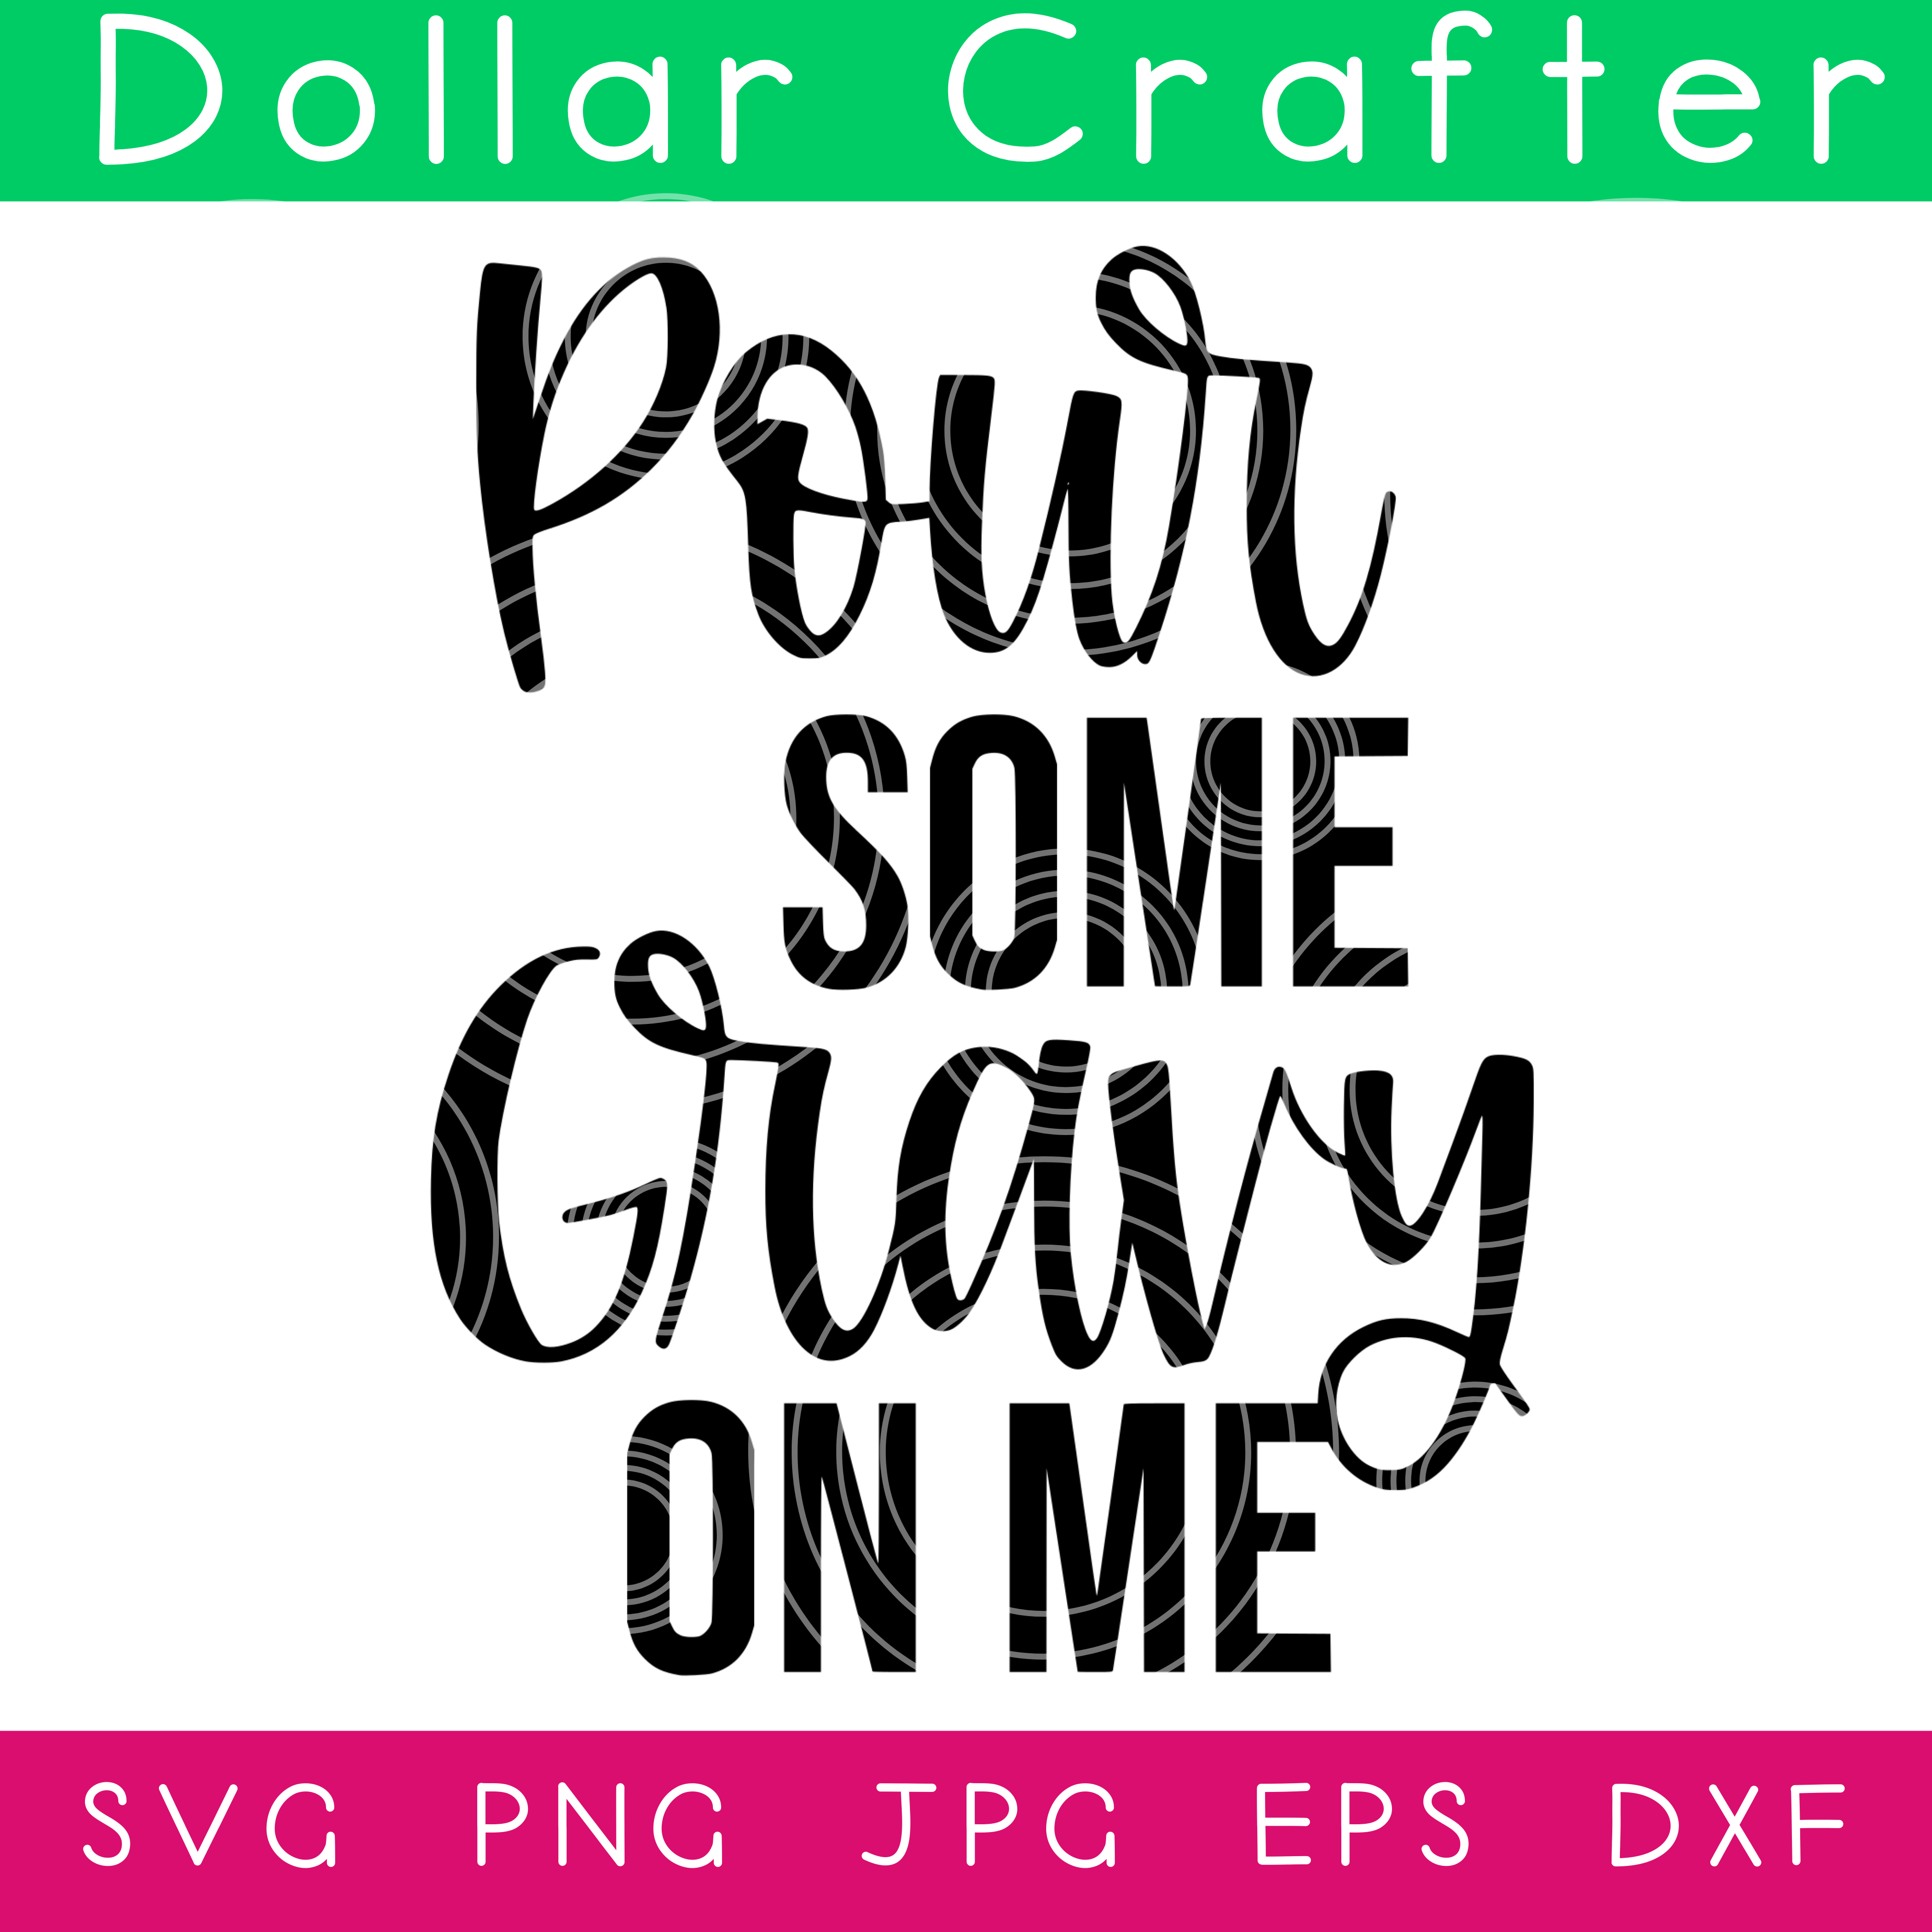
- “Pour Some Gravy On Me” SVG Craft File
- 1 Small Cutting Board, Dollar Tree
- 12×12 Sheet Oracal Vinyl White 651
- 1 Sheet Transfer Tape
- Blue Cricut Cutting Mat
- Espresso Stain
- Paint Drop Sheet
- Brush or Sponge Brush
- Paper Towel
- Weeding Tool
- Scraper Tool
- Cricut Machine
Tips for Making This “Pour Some Gravy On Me” Cricut Sign
This is another super versatile and simple Cricut craft! Simply stain or paint your wooden cutting board and add your vinyl saying.

I would highly suggest allowing your cutting board at least 24 hours after staining to fully set. It is also important to use a vinyl scraper or credit card to get all the air bubbles out when applying the vinyl.
How to Make This “Pour Some Gravy On Me” Cricut Cutting Board at Home
Let’s get crafting! Below is our written tutorial.
Pour Some Gravy on Me Cutting Board Sign

Materials
- 1 Small Cutting Board, Dollar Tree
- 12x12 Sheet Oracal Vinyl White 651
- 1 Sheet Transfer Tape
- Blue Cricut Cutting Mat
- Svg File
Tools
- Espresso Stain
- Paint Drop Sheet
- Brush or Sponge Brush
- Paper Towel
- Weeding Tool
- Scraper Tool
- Cricut Machine
Instructions
- Lay out plastic sheet Brush cutting board with stain. Rub all excess off with paper towel. Let dry at least 24 hours.
- Open design space. Upload the svg file. Set the dial on the machine to vinyl.
- Place the vinyl on the blue cutting mat. Cut out design and weed. When weeding is complete place a piece of transfer tape over the design and scrape well with scraper tool. Peel back slowly making sure the design sticks to the transfer tape.
- Place the design on the cutting board. Press down and then scrape well over the design. Peel back slowly making sure the design sticks to the cutting board.
- Press down with finger over all the design to make sure it is flat.
Notes
For more fun Thanksgiving Crafts visit DollarCrafter.com
Recommended Products
As an Amazon Associate and member of other affiliate programs, I earn from qualifying purchases.
Please Save This to Pinterest
Your shares are how this site grows, and I am sincerely grateful. Know a friend who’d like this? Please share it on Facebook or save it to your favorite crafts board on Pinterest.