
Do you want to give your favorite teacher a gift this year? Then, we have the perfect solution for you! Our DIY Pencil Painted Flower Pot is an easy way to show your appreciation.
It’s also an excellent craft for kids and adults alike. Teachers can even use it as a planter or decoration in the classroom. With this project, you don’t need special skills or tools – just some paint, a flower pot, and a sharpie.
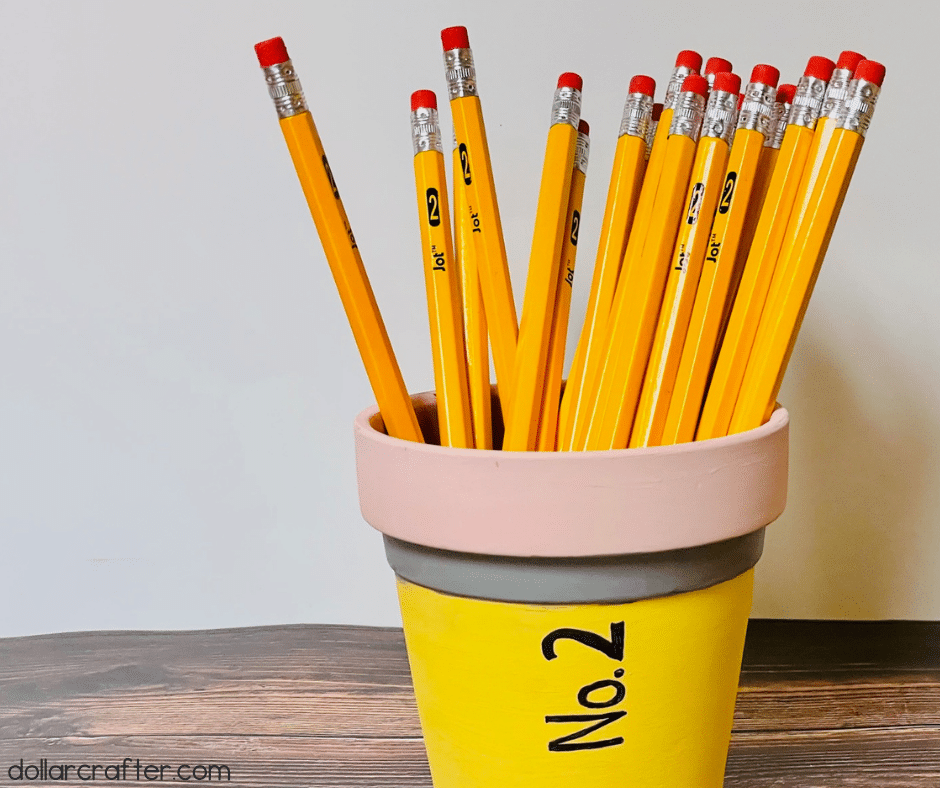
Hand Painted Pencil Flower Pot
I always give a gift to teachers because I feel they are under-appreciated, and we need to show them how important they are to our kids.
Heck, I spoil my kid’s teachers throughout the school year because they deserve it. It doesn’t have to be much at all, so that is why this Hand-Painted Pencil Flower Pot is one of my favorite gifts to give to them.
Supplies:
- Medium Size Flower pot
- Black Sharpie or Marker
- Ballet Slipper Chalk Paint
- Mineral Chalk Paint
- Maize Chalk Paint
- Paintbrush
Tips for Making This Easy Painted Flower Pot
What if I can’t find the exact brand or color of paint?
No problem and my suggestion is to bring a pencil with you to the craft store and try to match it the best you can. Sometimes brands are sold out or not at sale at certain stores, so don’t let that stop you. Remember, it doesn’t need to be perfect, just made with love!
What other items can I put in the Painted Flower Pot?
You can get creative on what to put in the pot- it doesn’t have to be pencils.
- Sharpies
- Writing pens
- Flower/Plant
- Candy- like suckers
- Granola Bars
- Rulers
- Fruit Snacks
- Anything I teacher might need or want
Another fun project you can make for your favorite teacher is the DIY Teacher Crayon Wreath.
How to Make a Pencil Painted Clay Pot at Home
Let’s get crafting! Below is our written tutorial.
Pencil Painted Flower Pot

Materials
- Medium Size Flower pot
- Black Sharpie or Marker
- Waverly Ballet Slipper Chalk Paint
- Waverly Mineral Chalk Paint
- Waverly Maize Chalk Paint
Tools
- Paint Brush
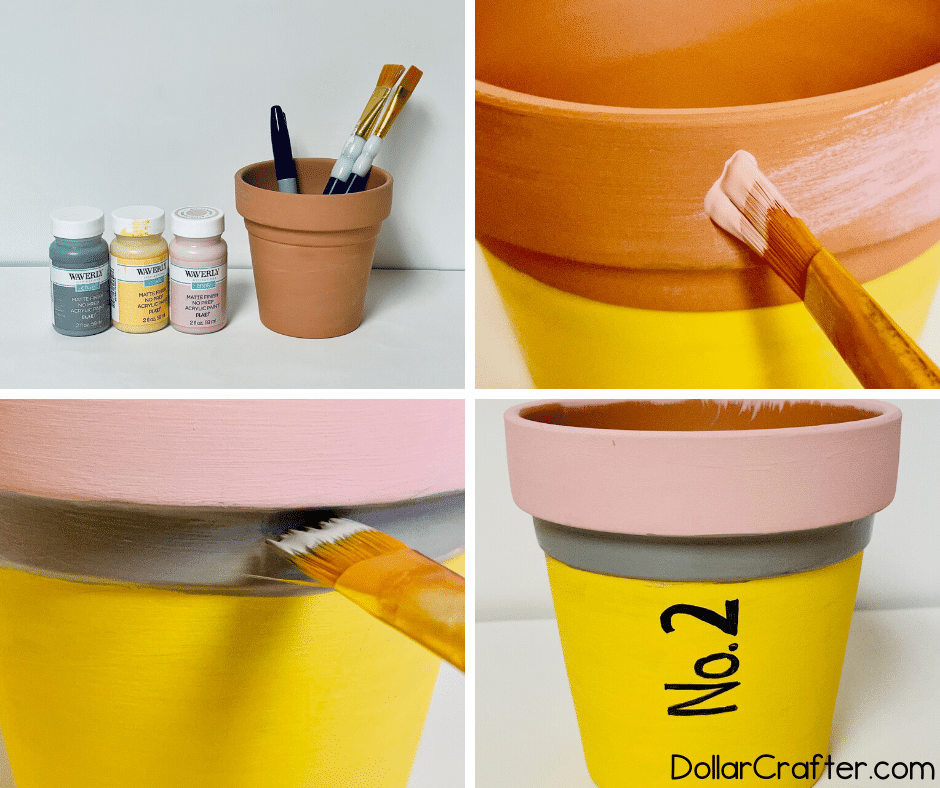
Instructions
- Start by painting the large bottom section of the pot with the Maize chalk paint. I did 2 coats and let it fully dry in between each coat.
- Next paint the top section with the ballet slipper chalk paint.
- After the top section has completely dried, paint the middle section with the mineral chalk paint.
- Next using the sharpie or black marker write No. 2 and style and enjoy!
Notes
For more fun Back to School Crafts visit DollarCrafter.com
Please Save This to Pinterest
Your shares are how this site grows, and I am sincerely grateful. Know a friend who’d like this? Please share it on Facebook or save it to your favorite crafts board on Pinterest.