
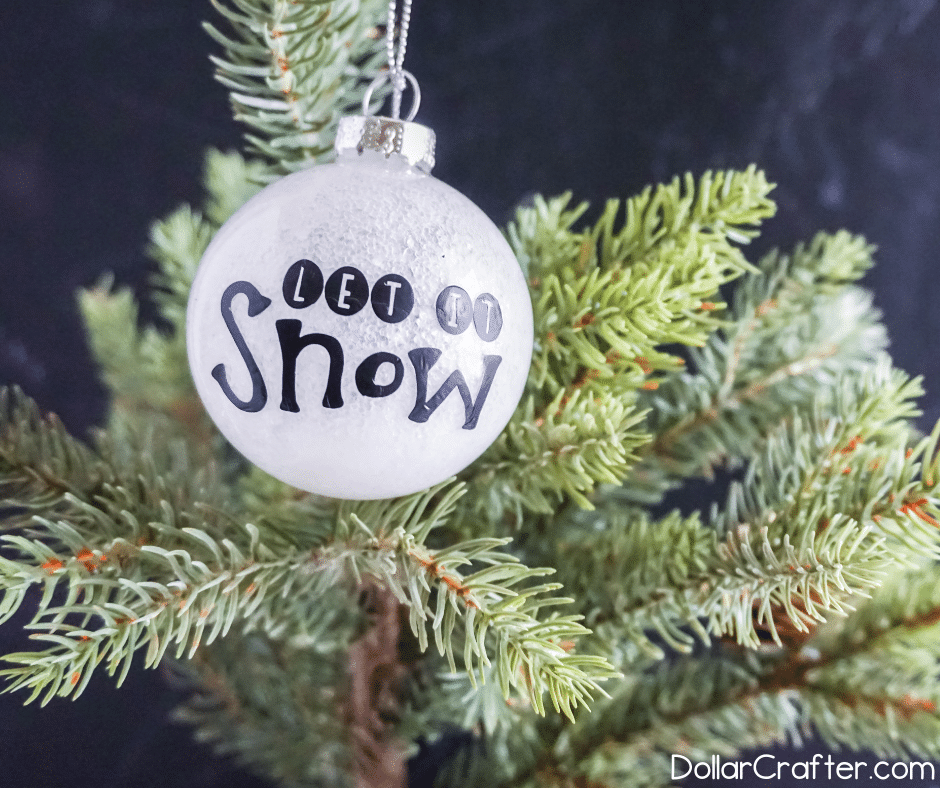
If you’re looking for a fun, easy craft to do this winter and would like the perfect gift, then DIY ornaments are just what you need! Use our SVG files to help make your own “let it snow” ornament in no time at all.
No time to make it now? No worries! Pin it for later! 🙂
DIY ornaments are so much fun to make! You can customize them for any occasion, and they’re perfect as gifts. And the best part? They only take minutes to design, cut out, then stick onto an ornament hook of your choice–it’s really that easy!.
DIY Let It Snow Christmas Ornament
Supplies:
- Clear Glass Fillable Ornament
- White Glitter
- Mod Podge
- Heat Transfer Vinyl in Black
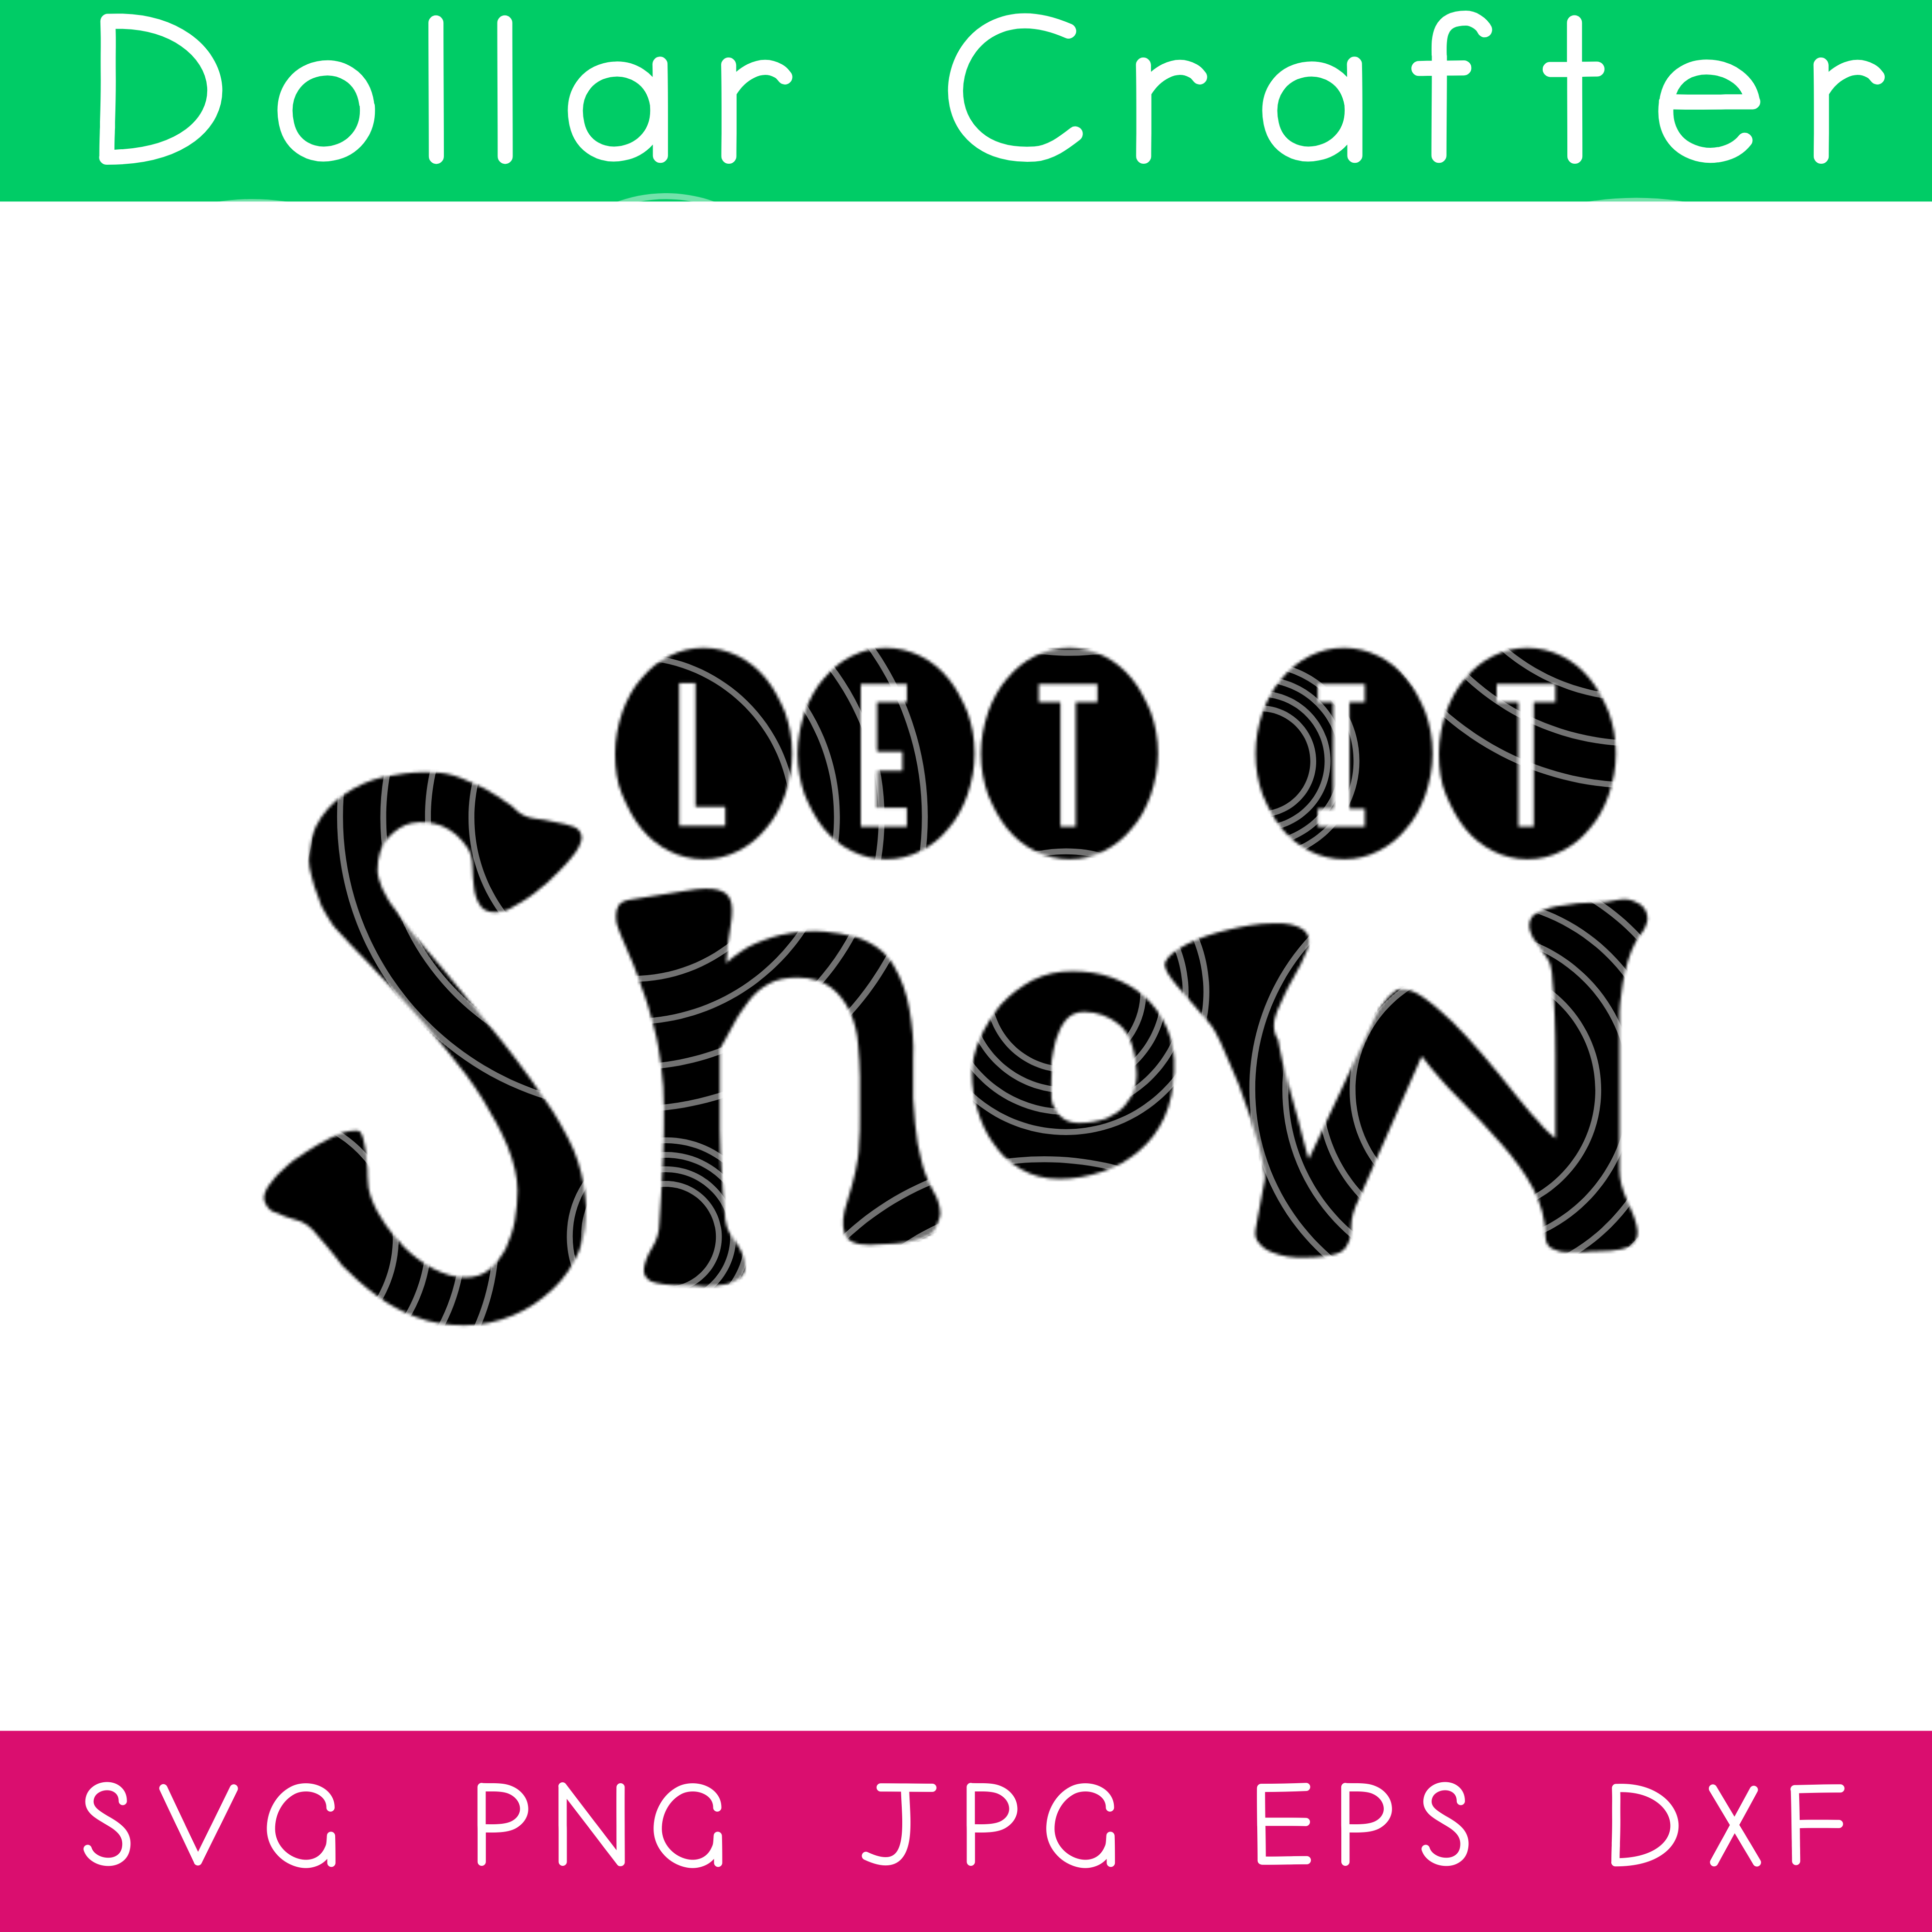
- Let it Snow Cut File
- Small Paper Cup
- Small Funnel
- EasyPress Mini
- Cricut Explore Air2 or Cricut Maker
Most of these materials you probably have on hand already, but they’re pretty affordable on Amazon (or after Christmas sales at Michael’s) as well.
Find all our DIY Christmas Crafts and Ornaments here!
Tips to Make Your Let it Snow Christmas Bulb
If you’re new to using your Cricut or Silhouette, check out our Cricut hacks post. It walks you through how to do your first projects and how to work with curved surfaces.
- These snow ornaments can be made year-round. They aren’t just for Christmas!
- Don’t forget to mirror your lettering in Design Space.
- Place the ornament in the paper cup when letting the glitter dry.
How do I weed small designs?
I like using my good ol’ tweezers to handle the smaller pieces of vinyl. Unfortunately, my fingers are big, and everything sticks to them!
Why do I seal my ornaments?
Sealing your designs with Mod Podge ensures they last longer, and the vinyl doesn’t peel off as easily. Just a thin coat works fine! 🙂
Want to make different ornaments?
Love these ornaments and want to make more? Try these snowman face ornaments! My kids really enjoyed making them.
How Do I Make the Let it Snow Christmas Ornament?
Let’s get crafting! Below is our written tutorial.
Let It Snow Christmas Ornament
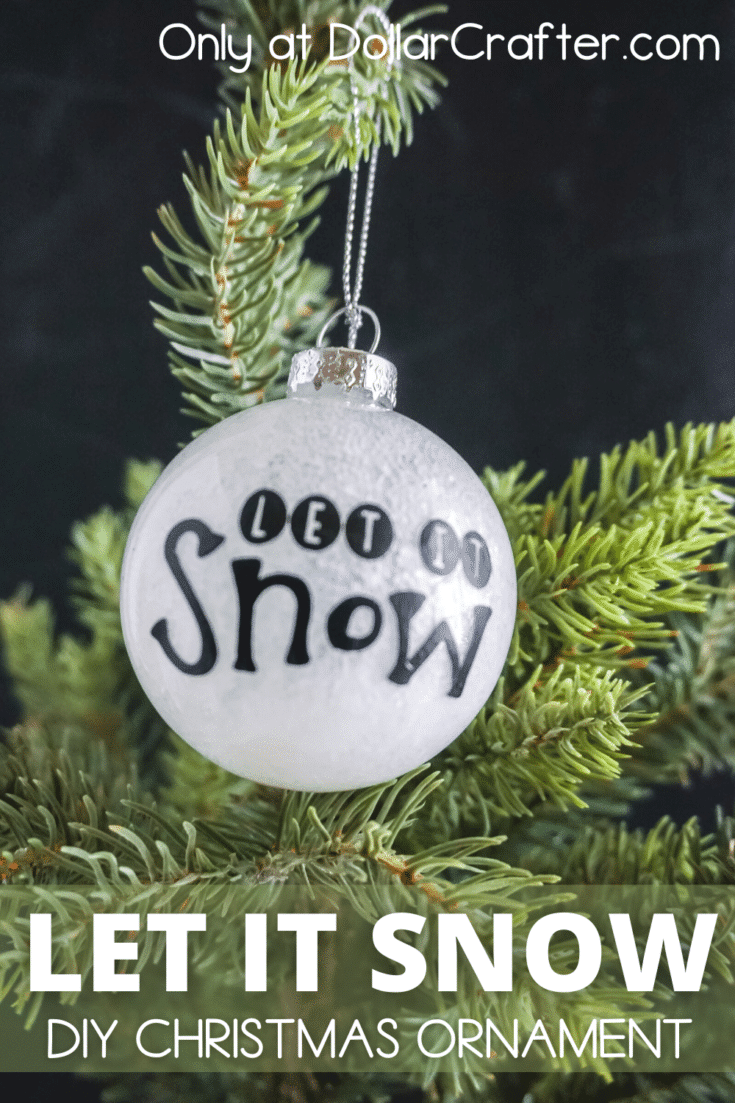
This simple let it snow ornament is a great svg craft to make with the kids this Christmas at a party or at home.
Materials
- Clear Glass Fillable Ornament
- White Glitter
- Mod Podge
- Heat Transfer Vinyl in Black
- Let it Snow Cut File
Tools
- Small Paper Cup
- Small Funnel
- EasyPress Mini
- Cricut Explore Air2 or Cricut Maker
Instructions
- Place the ornament in the paper cup with the metal top removed.
- Place 1 tbsp of mod podge into the ornament using the funnel.
- Add 1 tbsp of glitter to the ornament then swirl it around, turning it and covering the entire interior of the ornament with the glitter. Allow the mod podge to dry completely.
- Download the cut file and upload it to Design Space, then cut out the lettering from the black heat transfer vinyl. Don’t forget to mirror your lettering in Design Space
- Weed the design and place the lettering on the surface of the ornament as desired.
- Use the EasyPress Mini to bond the vinyl to the ornament surface and enjoy!
Notes
For more fun Christmas crafts visit DollarCrafter.com
Recommended Products
As an Amazon Associate and member of other affiliate programs, I earn from qualifying purchases.
Please Save This to Pinterest
Your shares are how this site grows, and I am sincerely grateful. Know a friend who’d like this? Please share it on Facebook or save it to your favorite holiday crafts board on Pinterest.