
You can personalize anything with a split monogram using your Cricut. This tutorial shows you how to make one in Design Space, and it’s super simple! Think about what gifts you can create using your Cricut and a split monogram.
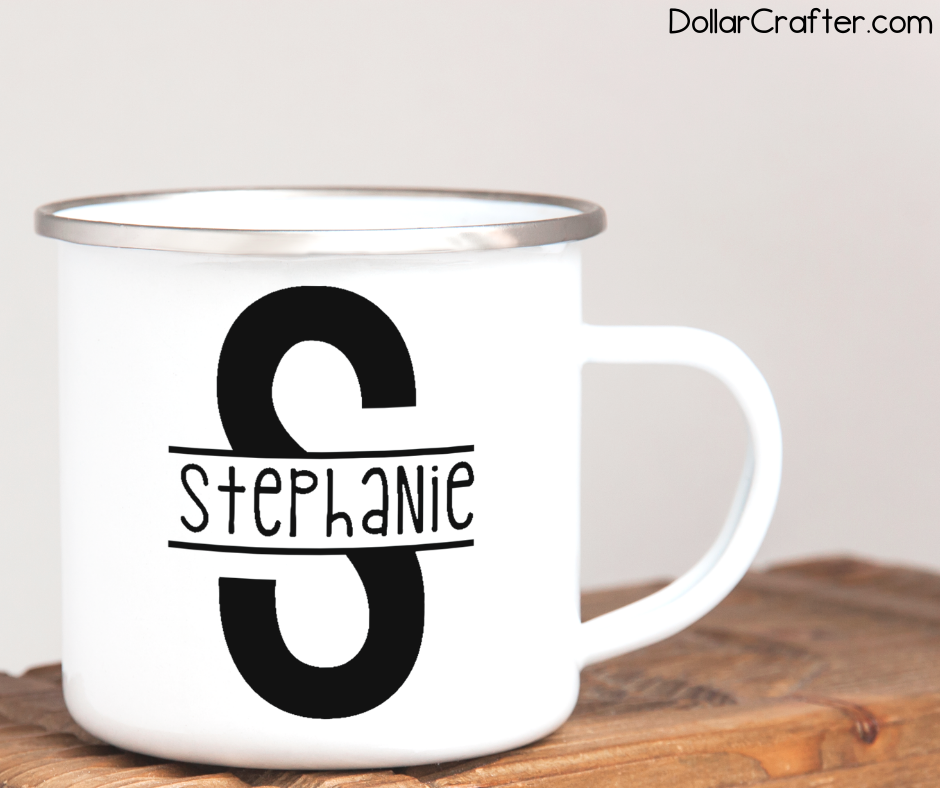
When it comes to monograms, there’s no such thing as too much of a good thing. A split monogram is a super fun way to label anything and everything.
I am so excited to share this tutorial with you! It’s going to be a cinch. You won’t need any additional programs, and everything can all happen right in Cricut Design Space.
Creating a Split Monogram in Cricut Design Space
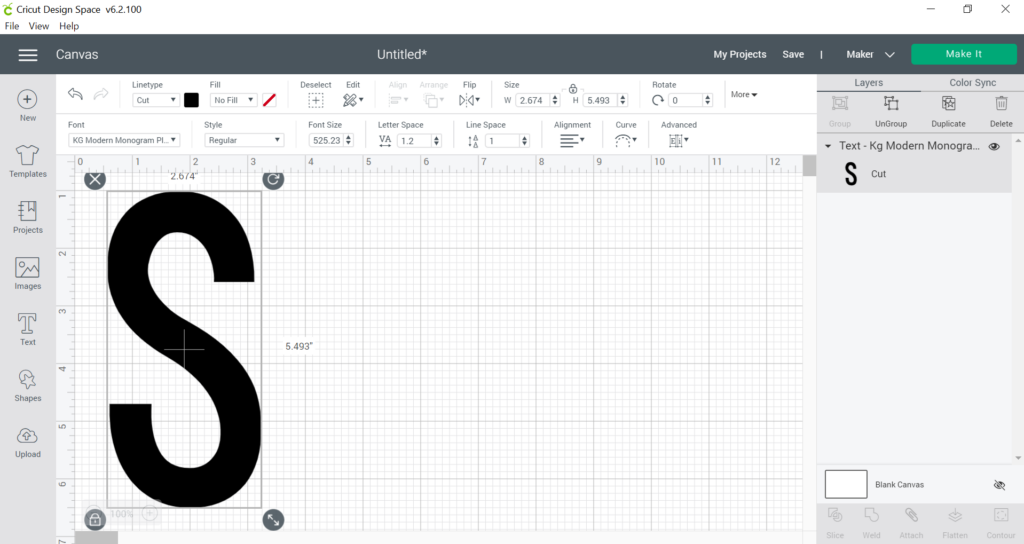
1. Create the Single Initial
To start, you will use one single large letter. After that, you can either use Cricut or System Fonts. You can also find single letters in the image library. When picking a font for split monograms, I believe that a bolder and chunkier font is always better. If you do not want to use a letter, you can apply this same technique to a basic image that you can either upload or find in the image library.
For this example, I am using KG Modern Monogram Plain.
You can make your font or image any size that you need and resize it at the end to fit whatever blank you are using.
2. Create the Split Monogram
Next, create a square shape using the Shapes tool from the design panel on the left. After inserting the square, you will need to click on the little lock button in the bottom left corner of the square to resize your square and turn it into a rectangle accurately.

Adjust the rectangle to the size you desire by using the resize circle in the bottom right-hand corner of the square/rectangle. Then place the rectangle over your letter where you want it to sit.

Select both the rectangle shape and your letter by clicking on select all. You can also do this on a PC device by holding down the shift key while you click both items. Then click “Slice” in the lower right-hand corner of the layers panel. This will give you a bunch of pieces to work with.

Delete all the pieces that are in the area that you want blank. To delete, right-click on the layer and select delete. This will create a break in your letter.

3. Create the Monogram Frame
Now we get to get into the fun part of creating the frame for the split monogram! The frame is the two lines that will sit on the top and the bottom of the word you put between the letter.
To do this, you are going to create another square using the shapes tool. Again click the unlock button of the square found in the lower left-hand corner to unlock the dimensions and make a long thin rectangle.
Place it at the top of your letter break and resize it until you have the look you want.

Then duplicate the shape. You can do this by duplicating the layer or copy/pasting the shape.
Move the line to the bottom break of your letter. Select all and use Align > Center Horizontally to make sure that everything is lined up perfectly

Then while everything is still selected, click “Weld” in the lower right section of the layers panel. This will merge all three layers into one, creating a single cut piece.

4. Add the Word to the Monogram
The last step is to choose a fun font and add your word to your monogram. I used KG PGX Bridgetown.
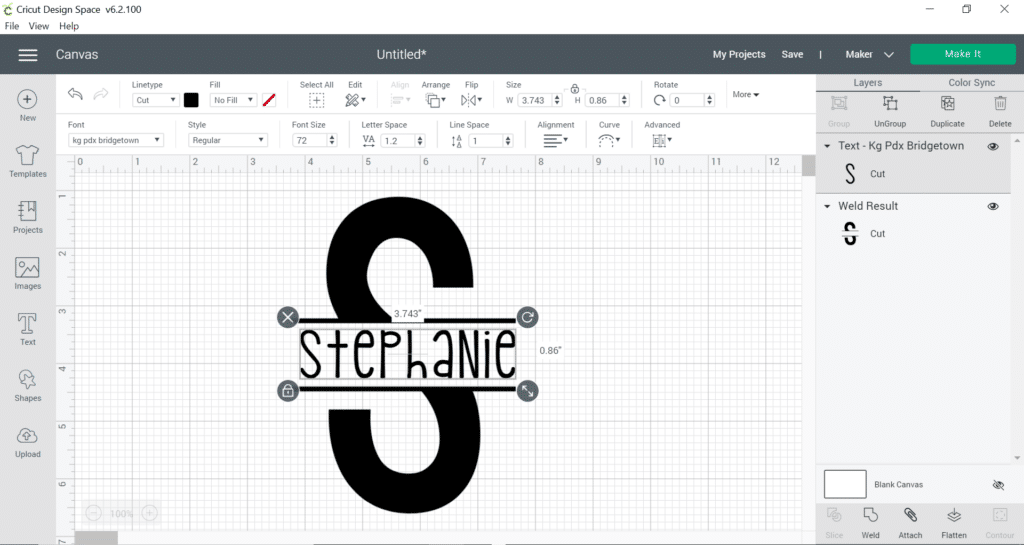
If you would like, you can weld the name to the split monogram so that it all cuts as one piece, or you can change the color and cut them into two separate materials.

Please Save This to Pinterest
Your shares are how this site grows, and I am sincerely grateful. Know a friend who’d like this? Please share it on Facebook or save it to your favorite homemade beauty board on Pinterest.