
Looking for a heartfelt gift that’s sure to make Mom smile this Mother’s Day? This DIY Mother’s Day floral arrangement with SVG files perfectly combines the beauty of blooms with a personal, creative touch! Plus, it’s budget-friendly, easy to customize, and ideal for crafters of all skill levels.
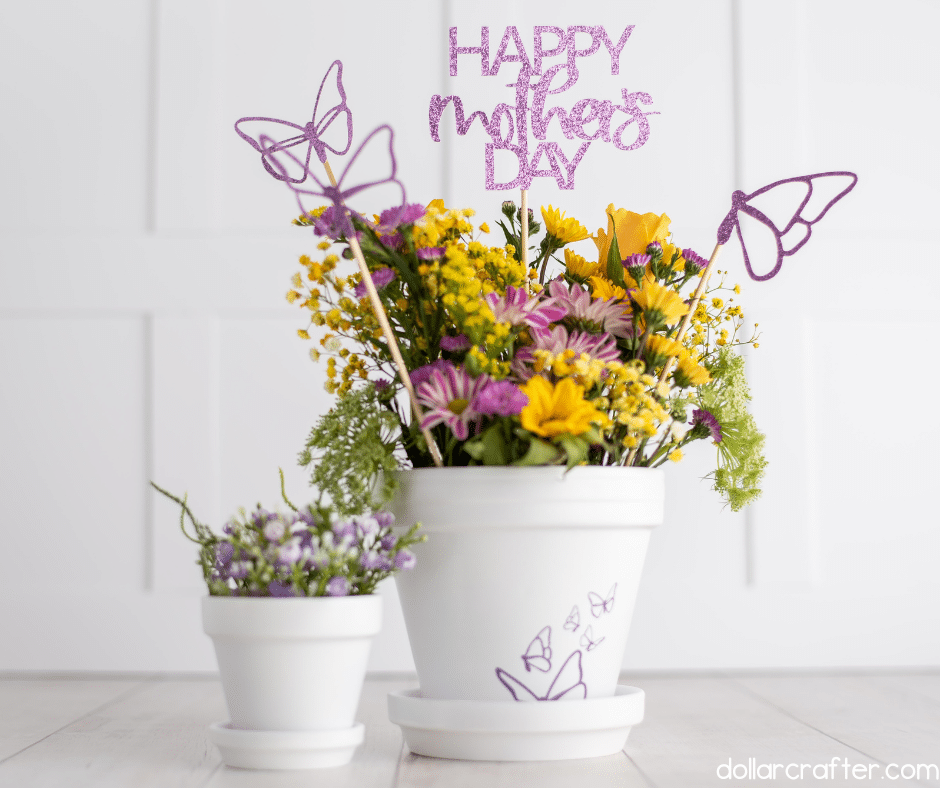
Nothing says “I love you” like a handmade gift bursting with vibrant flowers and personalized designs!
Let’s dive into the supplies, tips, and step-by-step instructions to help you craft a stunning floral arrangement with SVG embellishments.
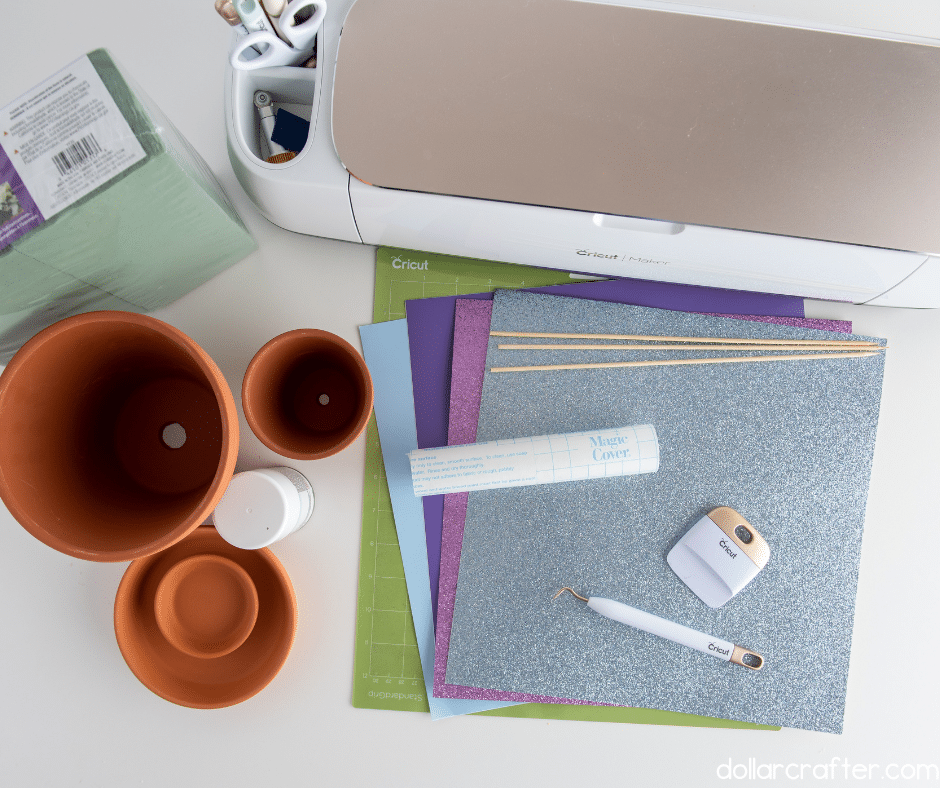
Supplies Needed
To get started, you’ll need a few supplies that are easy to source and work with. Here’s your checklist:
I’ve included some Amazon affiliate links to help you find what you need easily. If you make a purchase through these links, I may earn a small commission at no extra cost to you.
- Fresh, faux, or dried flowers of your choice
- Floral foam (wet foam for real flowers or dry foam for faux ones)
- An 8″ terra cotta pot with saucer
- Cricut or Silhouette cutting machine
- Cardstock
- Oracle 651 or Siser permanent vinyl
- Transfer tape for vinyl
- Green standard grip cutting mat
- Hot glue gun
- Wooden skewers or floral picks
- Spray paint (Krylon white gloss or a color of your choosing)
- Ribbons, glitter, or other embellishments
- Happy Mother’s Day SVG Files
Choosing the Right Flowers
Not all flowers are created equal, especially when it comes to DIY arrangements. Think about your mom’s favorite blooms or her preferred color palette. Here are some tips:
- Fresh flowers: Perfect for that classic bouquet feel. Roses, tulips, lilies, or daisies make great choices.
- Faux flowers: Ideal for long-lasting arrangements. Choose quality silk flowers for a realistic touch.
- Dried flowers: Trending for their earthy, vintage vibe. Pampas grass, lavender, or eucalyptus are wonderful options.
Remember, your flower choice should complement the vinyl colors you choose. For instance, a bright playful colors pair beautifully with vibrant live flowers, while earthy or muted tones shine with dried blooms.
Tips for Making a Mother’s Day Floral Arrangement
Here are practical tips to make the process smooth, enjoyable, and beautifully professional.
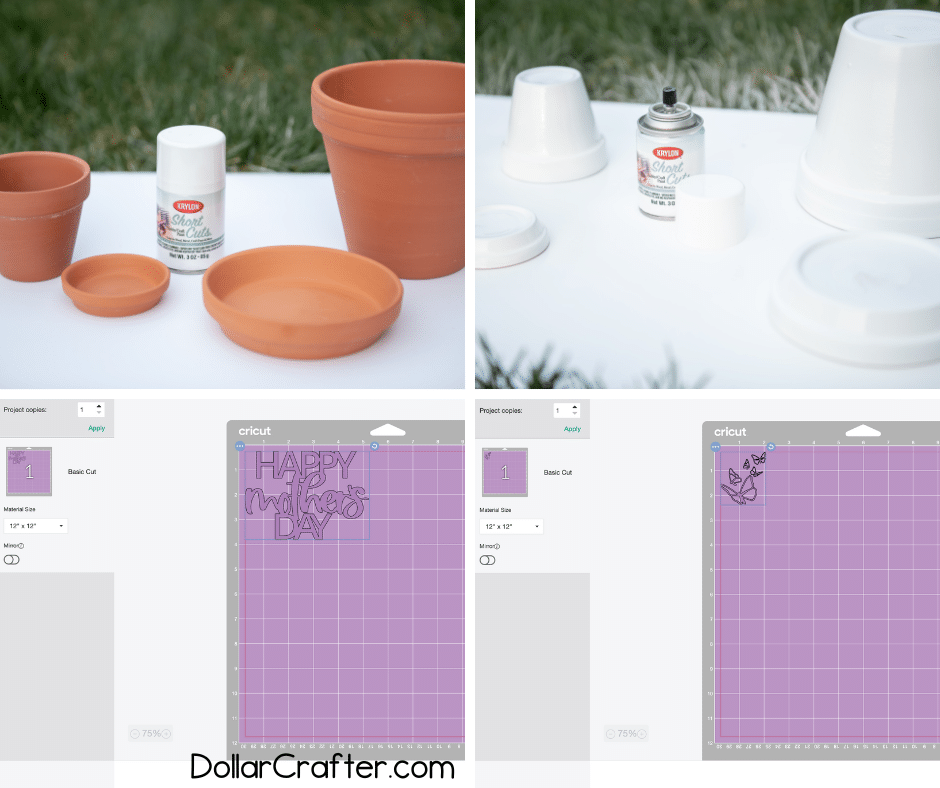
Spray Painting the Pot
- Use light, even coats of spray paint to prevent dripping. Let each layer dry thoroughly before applying the next.
- Focus on the exterior of the pot and around the rim. Skip the inside since it will be hidden by flowers or foam.
- Work in a well-ventilated area or outside on a calm day to ensure a clean, smooth paint job with no dust interference.
SVG Designs and Cricut Cutting
- Keep topper designs proportional by scaling them to around 5 inches wide. For pot decorations, stick to 2–3 inches for balanced visuals.
- Choose simple, bold shapes for easier weeding, especially if using glitter cardstock or vinyl.
- Add dimension by layering designs with multiple cardstock colors—this works great for butterflies or floral patterns.

Vinyl Transfer Application
- Use transfer tape to pick up and apply your vinyl cleanly. Press firmly with a scraper tool to ensure the design adheres well.
- Peel the transfer tape away slowly at a 45-degree angle to avoid lifting the vinyl design.
- For textured pots, apply extra pressure or gently heat the vinyl with a hairdryer to improve adhesion.
Assembling Topper Picks
- Hot glue floral skewers securely to the back of the cardstock toppers. Use just enough glue to anchor the skewer without mess.
- Reinforce delicate designs by layering a second piece of cardstock behind the topper to add durability.
- Play with skewer placement—center or angle them slightly for a dynamic arrangement.
Crafting a Balanced Flower Arrangement
- Place the tallest flowers in the center for height, then layer shorter flowers and greenery outward.
- Mix different textures, like soft flowers with airy fillers (e.g., baby’s breath), to create visual depth.
- Insert floral picks last to ensure they stand out and complement the overall bouquet design.
These simple tips will elevate your Mother’s Day craft from thoughtful to truly memorable, giving you a gift that’s as beautiful as it is heartfelt.
Step-by-Step: Creating the Floral Arrangement
Let’s get crafting! Below is our written tutorial.
DIY Mother's Day Floral Arrangement with SVG File
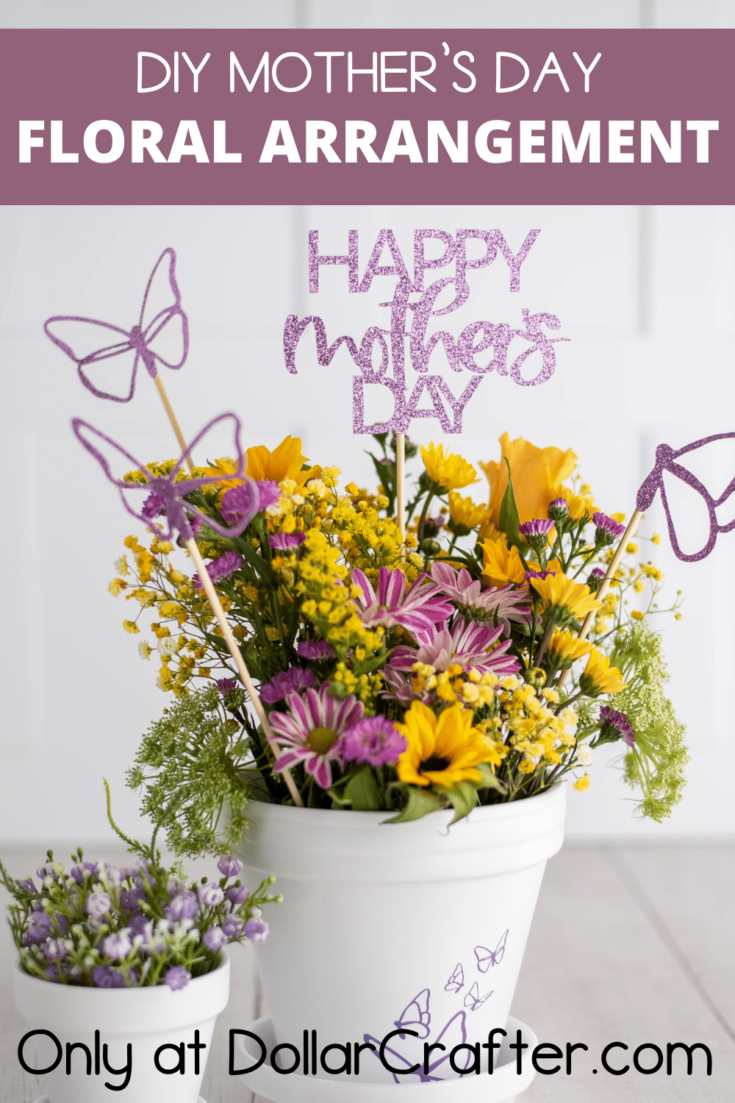
This DIY Mother’s Day craft combines a painted planter, custom vinyl designs, and glitter cardstock picks with a floral arrangement. It’s customizable, budget-friendly, and perfect for giving Mom something handmade and heartfelt!
Materials
- Oracle 651 or Siser permanent vinyl
- Cardstock - color and texture of your choice
- Transfer paper
- Hot Glue
- Skewers
- Krylon white gloss spray paint or color of choice
- Terracotta pot and saucer (size of choice - using an 8” with corresponding saucer)
- Floral foam (dry foam for faux/silk flowers or wet foam for real flowers)
Tools
- Knife
- Green standard grip may
- Weeding tool
- Scrapper tool
- Hot glue gun
- Cricut machine
Instructions
- Spray paint the planter pot and saucer using the paint of your choice. Follow the instructions on the spray paint can. Apply light coats to avoid dripping, and cover the outside, bottom, and top around the rim until you reach the desired opacity. Skip painting the inside of the pot, as it will be filled with floral foam and flowers.
- Open Cricut Design Space and upload the topper pick SVG provided for the project. Add additional designs for the side of the pot or floral arrangement, such as butterflies, hearts, polka dots, or flowers. Resize the designs based on your preferences. Floral arrangement elements should be around 3 inches wide or 2 inches tall. Topper picks should be about 5 inches wide.
- Once designs are uploaded and sized, click “Make It” in Design Space. Adjust the machine’s material setting or dial to “Glitter Cardstock” for topper designs. Load glitter cardstock onto the green standard grip mat and hit “Go.” Repeat the process for vinyl by setting the machine to “Vinyl.”
- After cutting is complete, begin weeding the vinyl and cardstock designs. Use a weeding tool to carefully remove excess vinyl around the design. Remove small negative spaces inside letters, such as “a,” “e,” or “o.” Set the glitter cardstock topper designs aside.
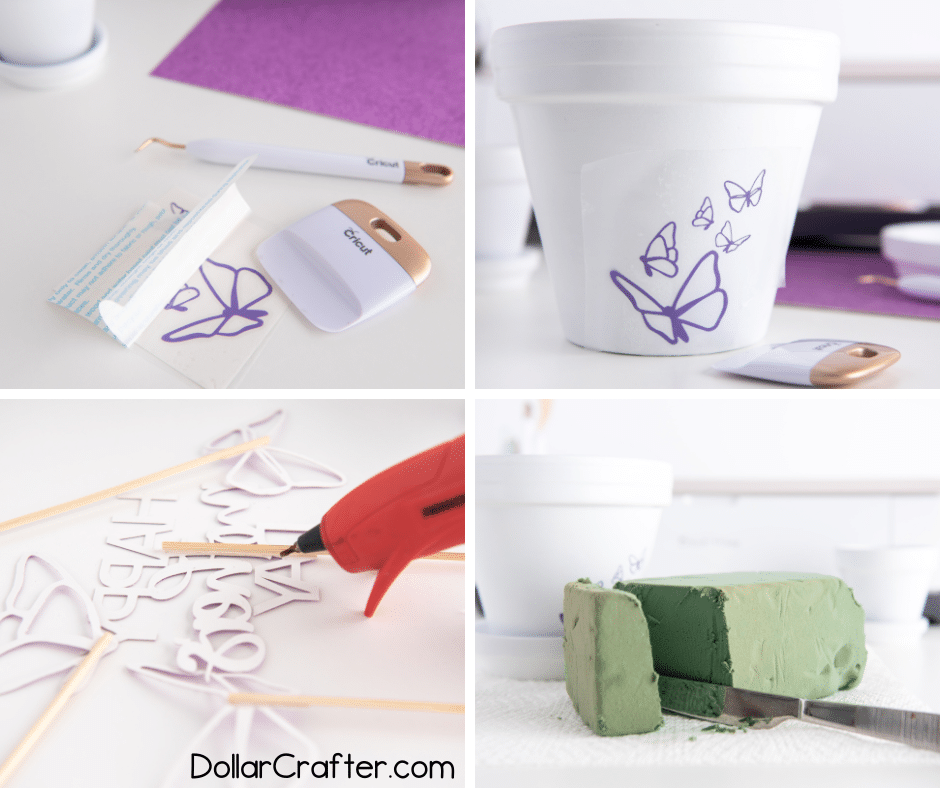
- Cut a piece of transfer tape to match the size of your vinyl design. Apply the transfer tape over the vinyl, pressing firmly with a scraper tool to adhere the vinyl to the tape.
- Flip the design face down and gently peel away the vinyl’s backing (carrier sheet), leaving the vinyl adhered to the transfer tape.
- Place the vinyl design with the transfer tape onto the planter pot. Position the design to your liking, then use the scraper tool to press the vinyl firmly onto the surface.
- Slowly remove the transfer tape by peeling it back at a 45-degree angle. Ensure the vinyl design stays in place on the pot.
- Use hot glue to attach a skewer to the back of each glitter cardstock topper. Position the skewer along the back in a way that will conceal it when inserted into the floral arrangement.
- Use a knife to cut floral foam to fit inside the planter pot. Trim the foam so that it sits about 1 inch below the pot’s rim. Use dry foam for faux flowers, or wet foam for fresh flowers, soaking it in water before placing it in the pot.
- Arrange the flowers in the floral foam. Start with the tallest flowers in the center and work outward with shorter blooms. Mix in greenery or filler flowers for added texture and depth.
- Insert the glitter cardstock topper picks into the floral arrangement to complete the gift. Once finished, your Mother’s Day planter pot and floral bouquet are ready for gifting!
Notes
For more fun Mother's Day Crafts visit DollarCrafter.com
Recommended Products
As an Amazon Associate and member of other affiliate programs, I earn from qualifying purchases.

Please Save This DIY Mother’s Day Floral Arrangement with SVG Files to Pinterest!
Your shares are how this site grows, and I am sincerely grateful. Know a friend who’d like this? Please share it on Facebook or save it to your favorite crafting board on Pinterest.