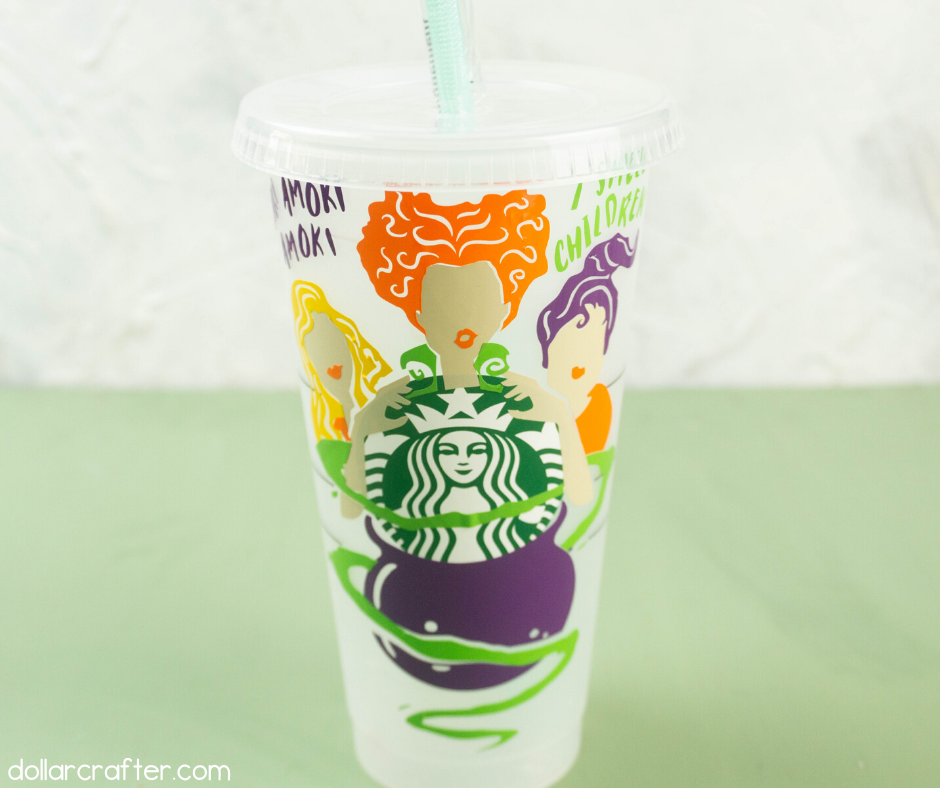
Have you ever wanted to make your own Hocus Pocus Starbucks cup? I know you’ve seen them all over Pinterest. This DIY is perfect for you, and we even supply the SVG. So are you ready to see what supplies you need and how to make this amazing Starbucks Hocus Pocus craft?
Cricut Starbucks Hocus Pocus Craft
First, are you a Hocus Pocus fan? Cool, me too! I love this movie and I can watch it over and over. So when I grabbed my Starbucks cup the other day I knew I had to decorate it with this DIY Hocus Pocus SVG. I love to switch out my Starbucks cups with season themes. I know I’m not the only one who does this.
You might even have all the vinyl colors in your stash, so this craft will be super cheap to make, and it only takes about 15 minutes. This is one of my favorite crafts to create.
Supplies:
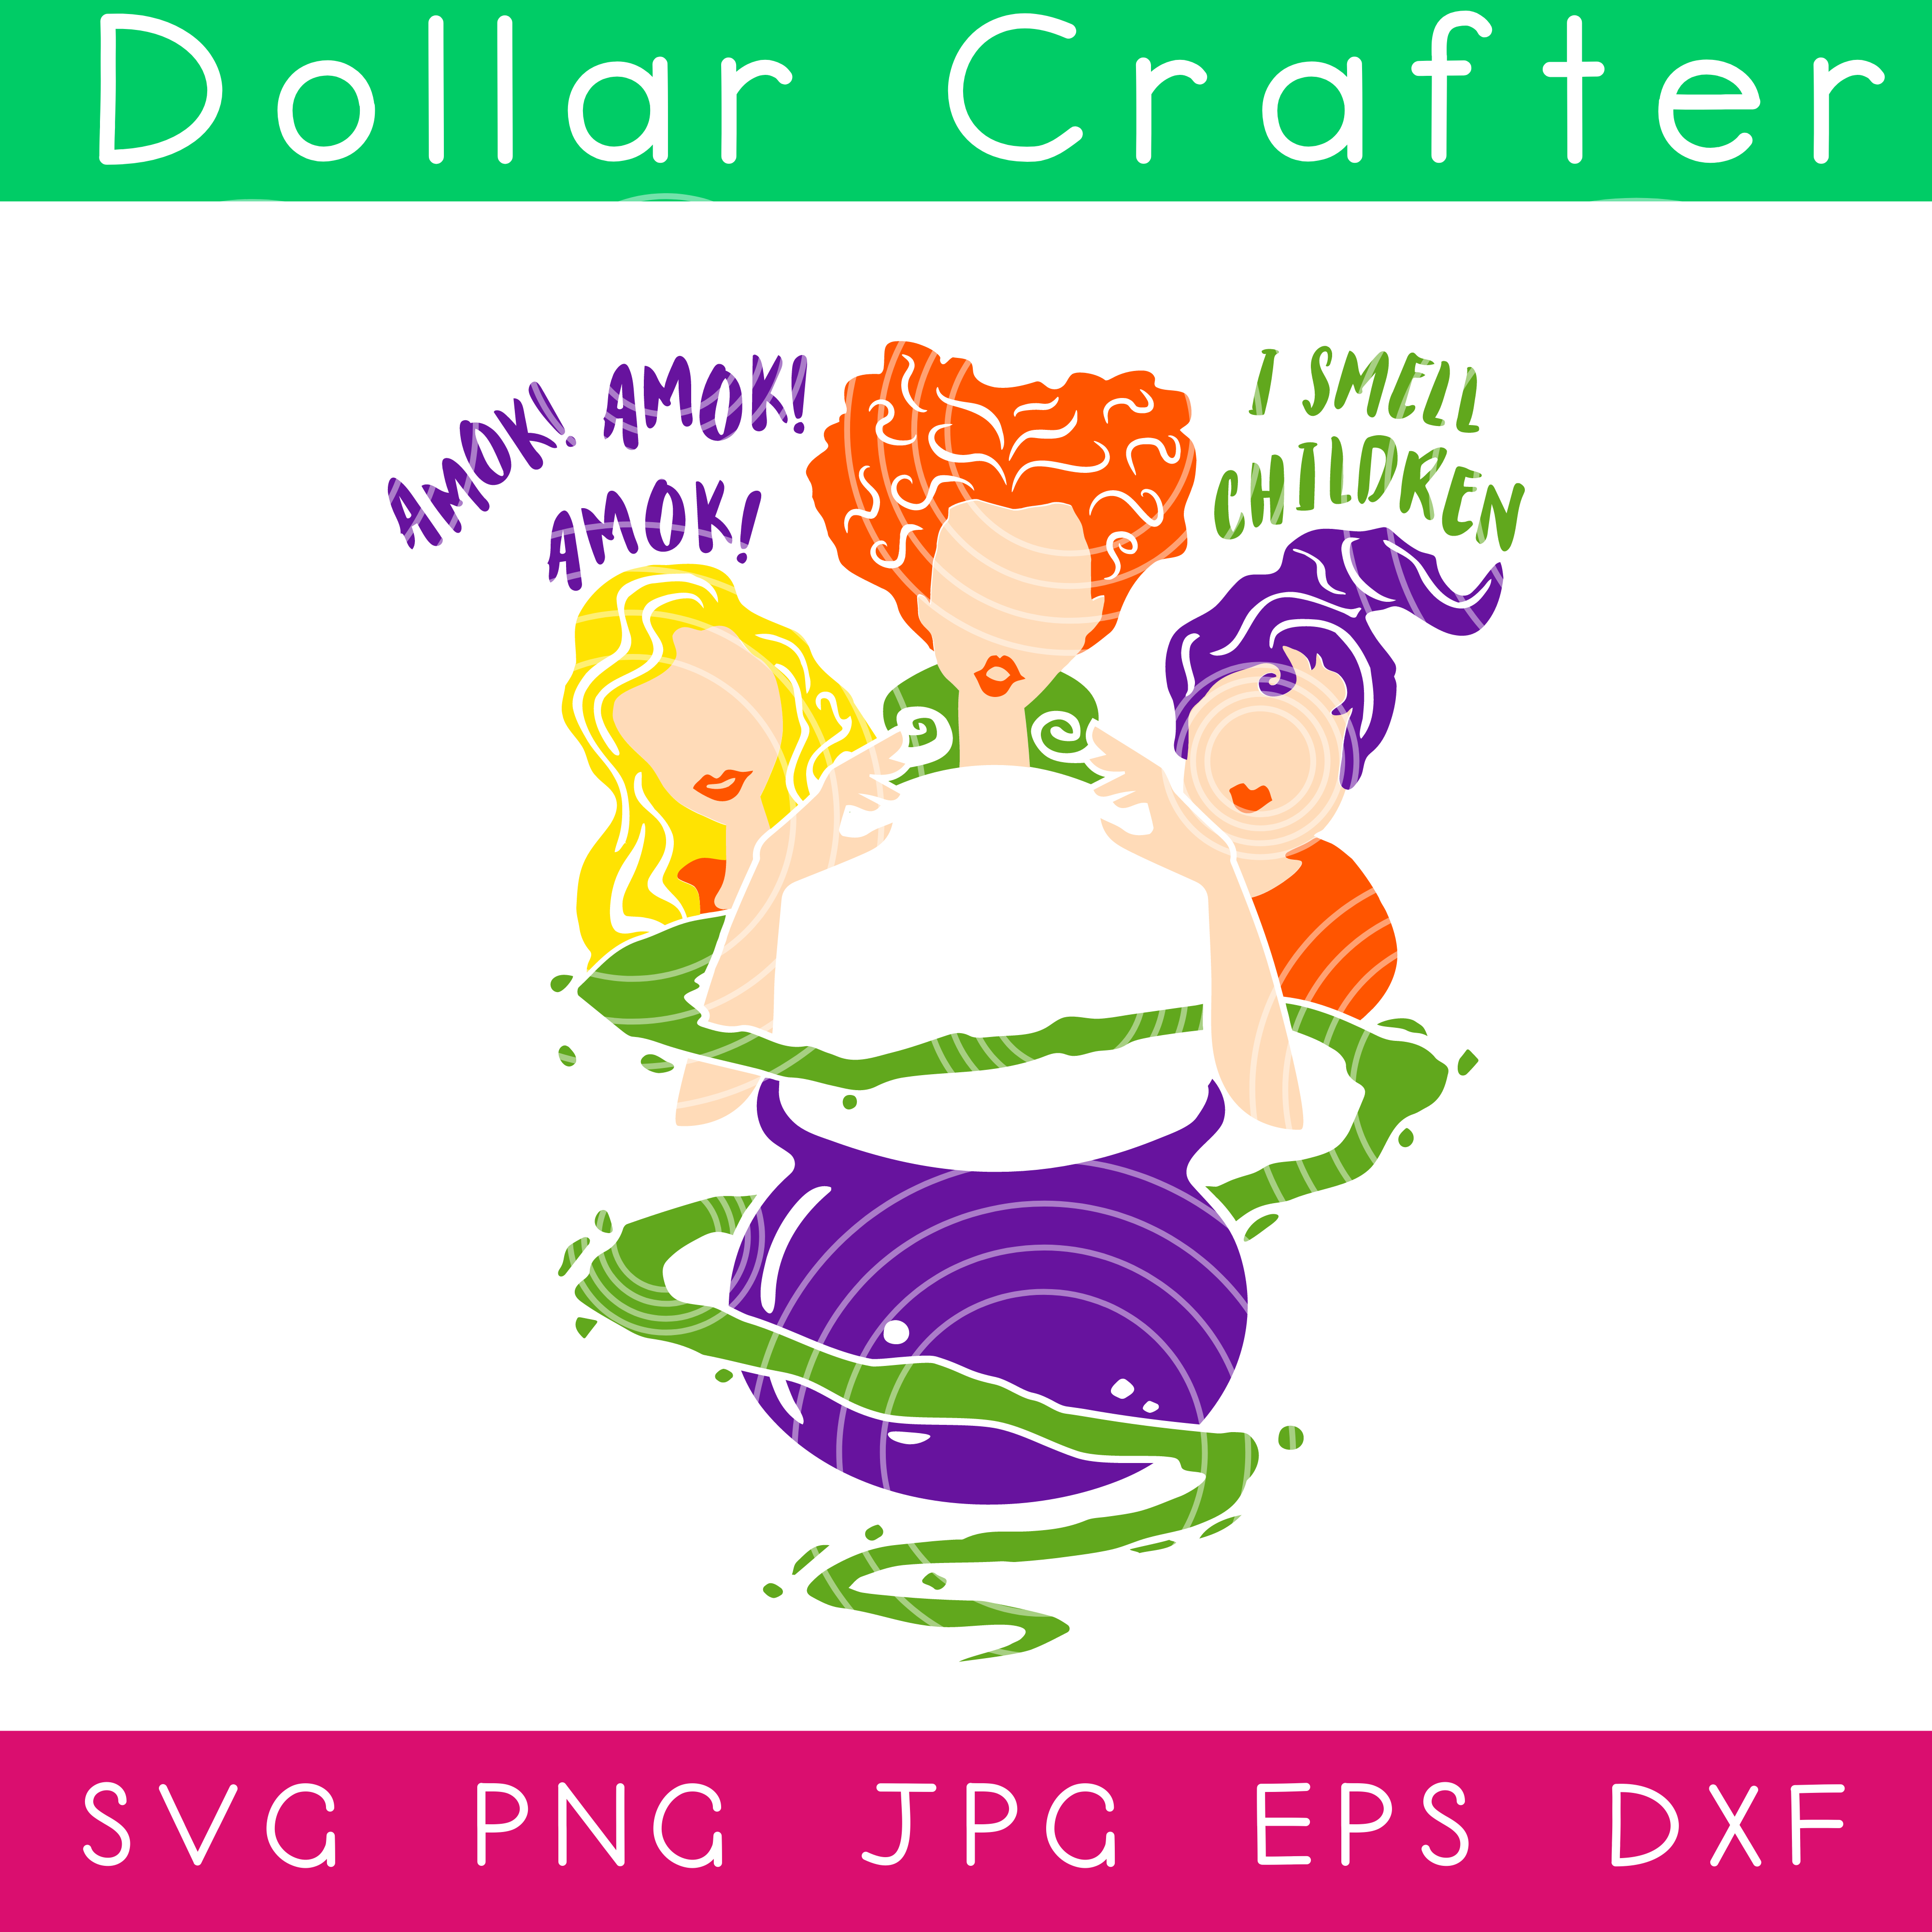
- Hocus Pocus Starbucks Cup SVG
- Purple 651 Oracal Vinyl, 12×12 sheet
- Orange 651 Oracal Vinyl, 12×12 sheet
- Yellow 651 Oracal Vinyl, 12×12 sheet
- Green 651 Oracal Vinyl, 12×12 sheet
- Light Tan 651 Oracal Vinyl, 12×12 sheet
- Transfer Tape
- 1 Starbucks Cold Cup 24 oz.
- Cricut Machine
- Blue Cutting Mat
- Weeding Tool
- Scraper Tool
Tips for Making This Hocus Pocus Starbucks Cup Idea
Are you a newbie to the Cricut? And you might be scared to use the machine- no worries, we got you- Check out 22 Tips and Hacks for New Cricut Users because it walks you through so many fantastic tips.
Don’t be scared of layering; this is super easy to do with this project. Here are some tips for layering.
- Cut all of your vinyl pieces first, weed, then have all your pieces ready to go so you can just layer at one time.
- Use clear transfer paper if possible- it makes the layering process so easy.
- It’s easier to layer on a flat surface by the way.
- Then you can transfer the entire layered image to your cup (or whatever object).
- Work slowly and be patient with yourself- and please don’t pick a hard layering project for your first time. This project is pretty easy.
- A vinyl scraper is a must-have tool when layering. It also helps with air bubbles. If you don’t have a vinyl scraper or can’t find it- try your credit card that works too.
Please read the instructions below for the full details on how to create your Hocus Pocus Starbucks cup. Also, the best way to keep your cup looking like new is by hand washing it.
How to Make a Cricut Starbucks Hocus Pocus Cup at Home
Ready to get crafting? You will find the full tutorial below!
Cricut Hocus Pocus Starbucks Cup
Materials
- Purple 651 Oracal Vinyl, 12x12 sheet
- Orange 651 Oracal Vinyl, 12x12 sheet
- Yellow 651 Oracal Vinyl, 12x12 sheet
- Green 651 Oracal Vinyl, 12x12 sheet
- Light Tan 651 Oracal Vinyl, 12x12 sheet
- Transfer Tape
- 1 Starbucks Cold Cup 24 oz.
- Hocus Pocus SVG File
Tools
- Cricut Machine
- Blue Cutting Mat
- Weeding Tool
- Scraper Tool
Instructions
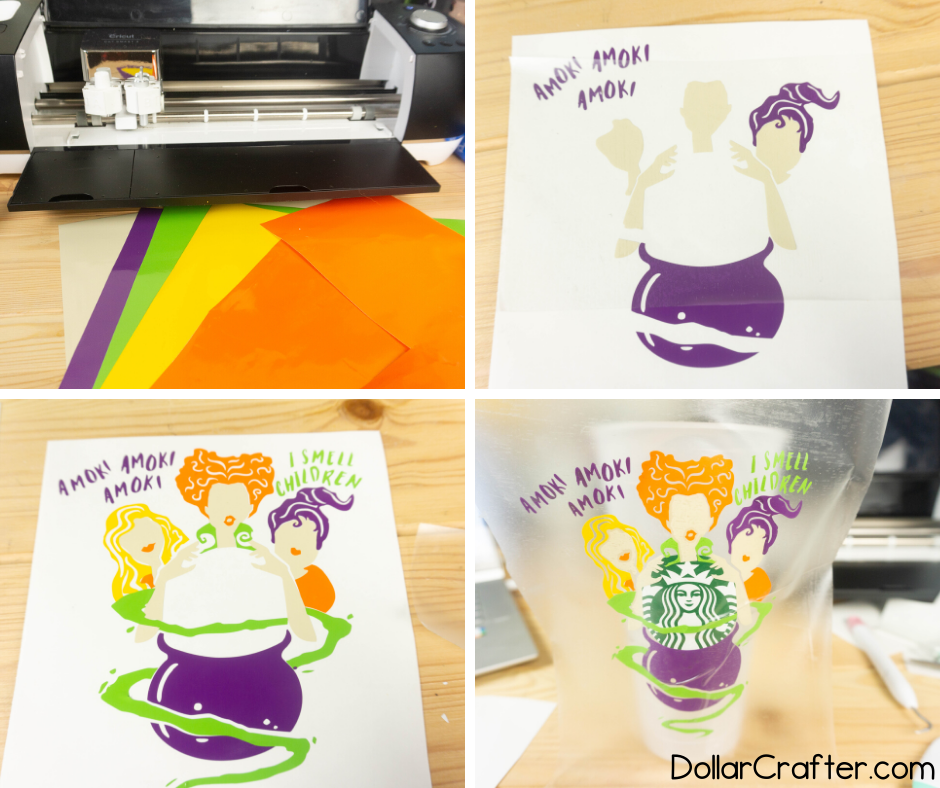
- Upload design into design space. Place the light tan sheet on the blue cutting mat. Select the skin faces and turn off the rest. Cut and weed.
- Place the yellow sheet on the cutting mat. Select the yellow hair and turn off the rest. Cut and weed.
- Place the orange vinyl on the cutting mat. Select the orange hair and lips. Turn off the rest. Cut and weed.
- Place the purple vinyl on the cutting mat. Select the purple cauldron and turn off the rest. Cut and weed.
- Place the green vinyl on the cutting mat. Select the green potion and turn off the rest. Cut and weed.
- Using the transfer tape place the tape over the light tan design and scrape with scraper tool. Peel back slowly making sure the design sticks. Place this on the purple weeded design. Line up with the Starbucks logo on the cup. You can see it through the white paper backing.
- Now layer on the orange hair and lips along with the yellow hair. Do this buy using the transfer tape. Be careful not to get the transfer tape on other items as it may lift. The smaller things like lips I usually use the weeding tool and place them on without transfer tape.
- Repeat the layering process for each color and design. Once you have them all together then use transfer tape on the entire image. Scrape well and peel back slowly making sure all is attached. Then line the design up with the starbucks logo. Press down in the middle then work your way outward with the scraper tool. Once it is flat peel back slowly making sure the design adheres to the cup. Press down with your finger on all of the design once you have it attached making sure no spots are lifted.
PLEASE NOTE this cup is hand wash only!
Notes
For more fun Cricut Crafts visit DollarCrafter.com
Recommended Products
As an Amazon Associate and member of other affiliate programs, I earn from qualifying purchases.
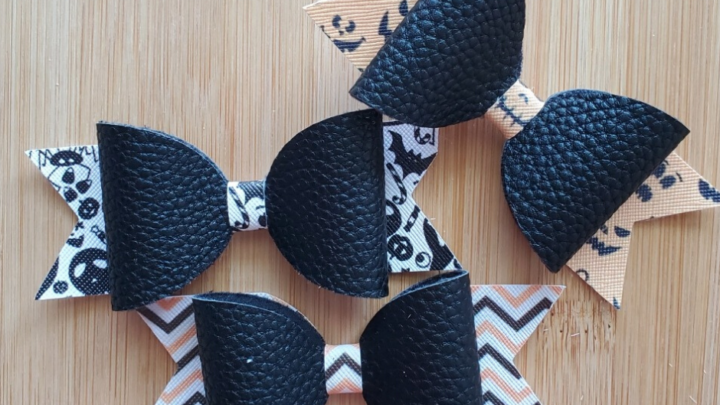
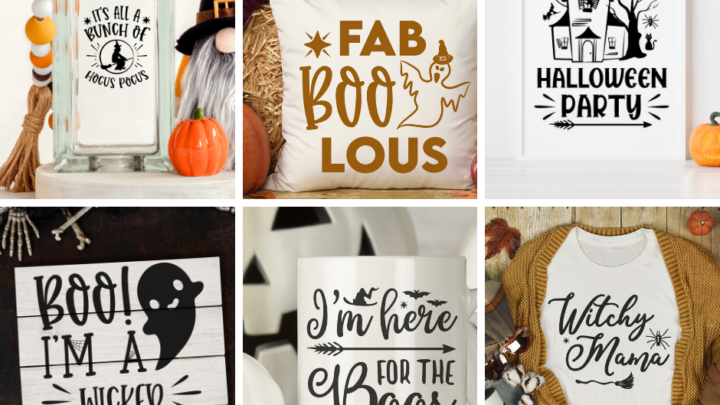
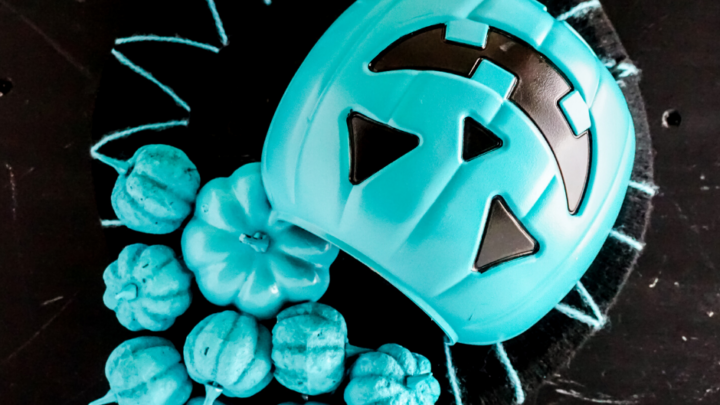
More Halloween Crafts You Will Love!


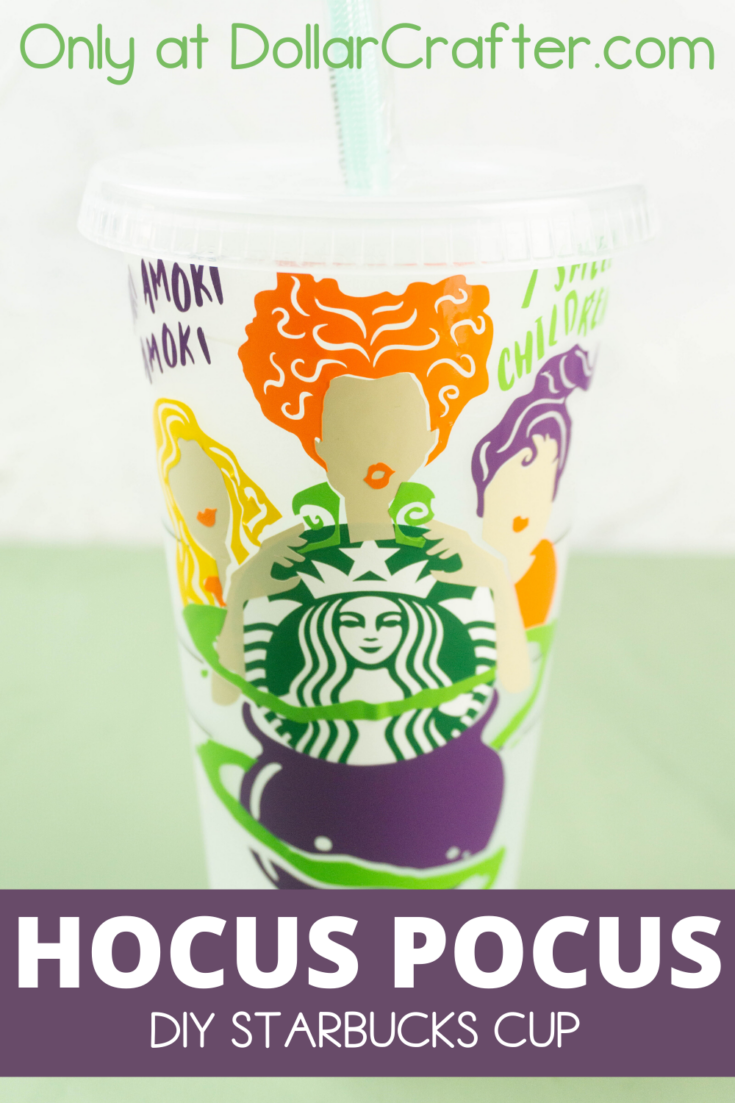
Please Save This to Pinterest
Your shares are how this site grows, and I am sincerely grateful. Know a friend who’d like this? Please share it on Facebook or save it to your favorite craft board on Pinterest.